Giraffes Can't Dance
I have taught some form of this lesson for over 12 years because it’s a good one! We’ve created Gerald the Giraffe on a seperate paper, cut it out, and glued it onto a watercolor-washed background. We’ve drawn in vibrant patterned rays behind Gerald. But this variation is what I’ve landed on for the last several years. The story itself is a sweet tale about accepting who you are, even if it means dancing to your own beat. Additionally, the illustrations are a great tool to show some simple ways to demonstrate movement in artwork. Seriously, it’s been one of the best examples for the tiny humans on movement.
So what are the ways to demonstrate movement in a drawing. I narrowed it to three examples from the illustrations:
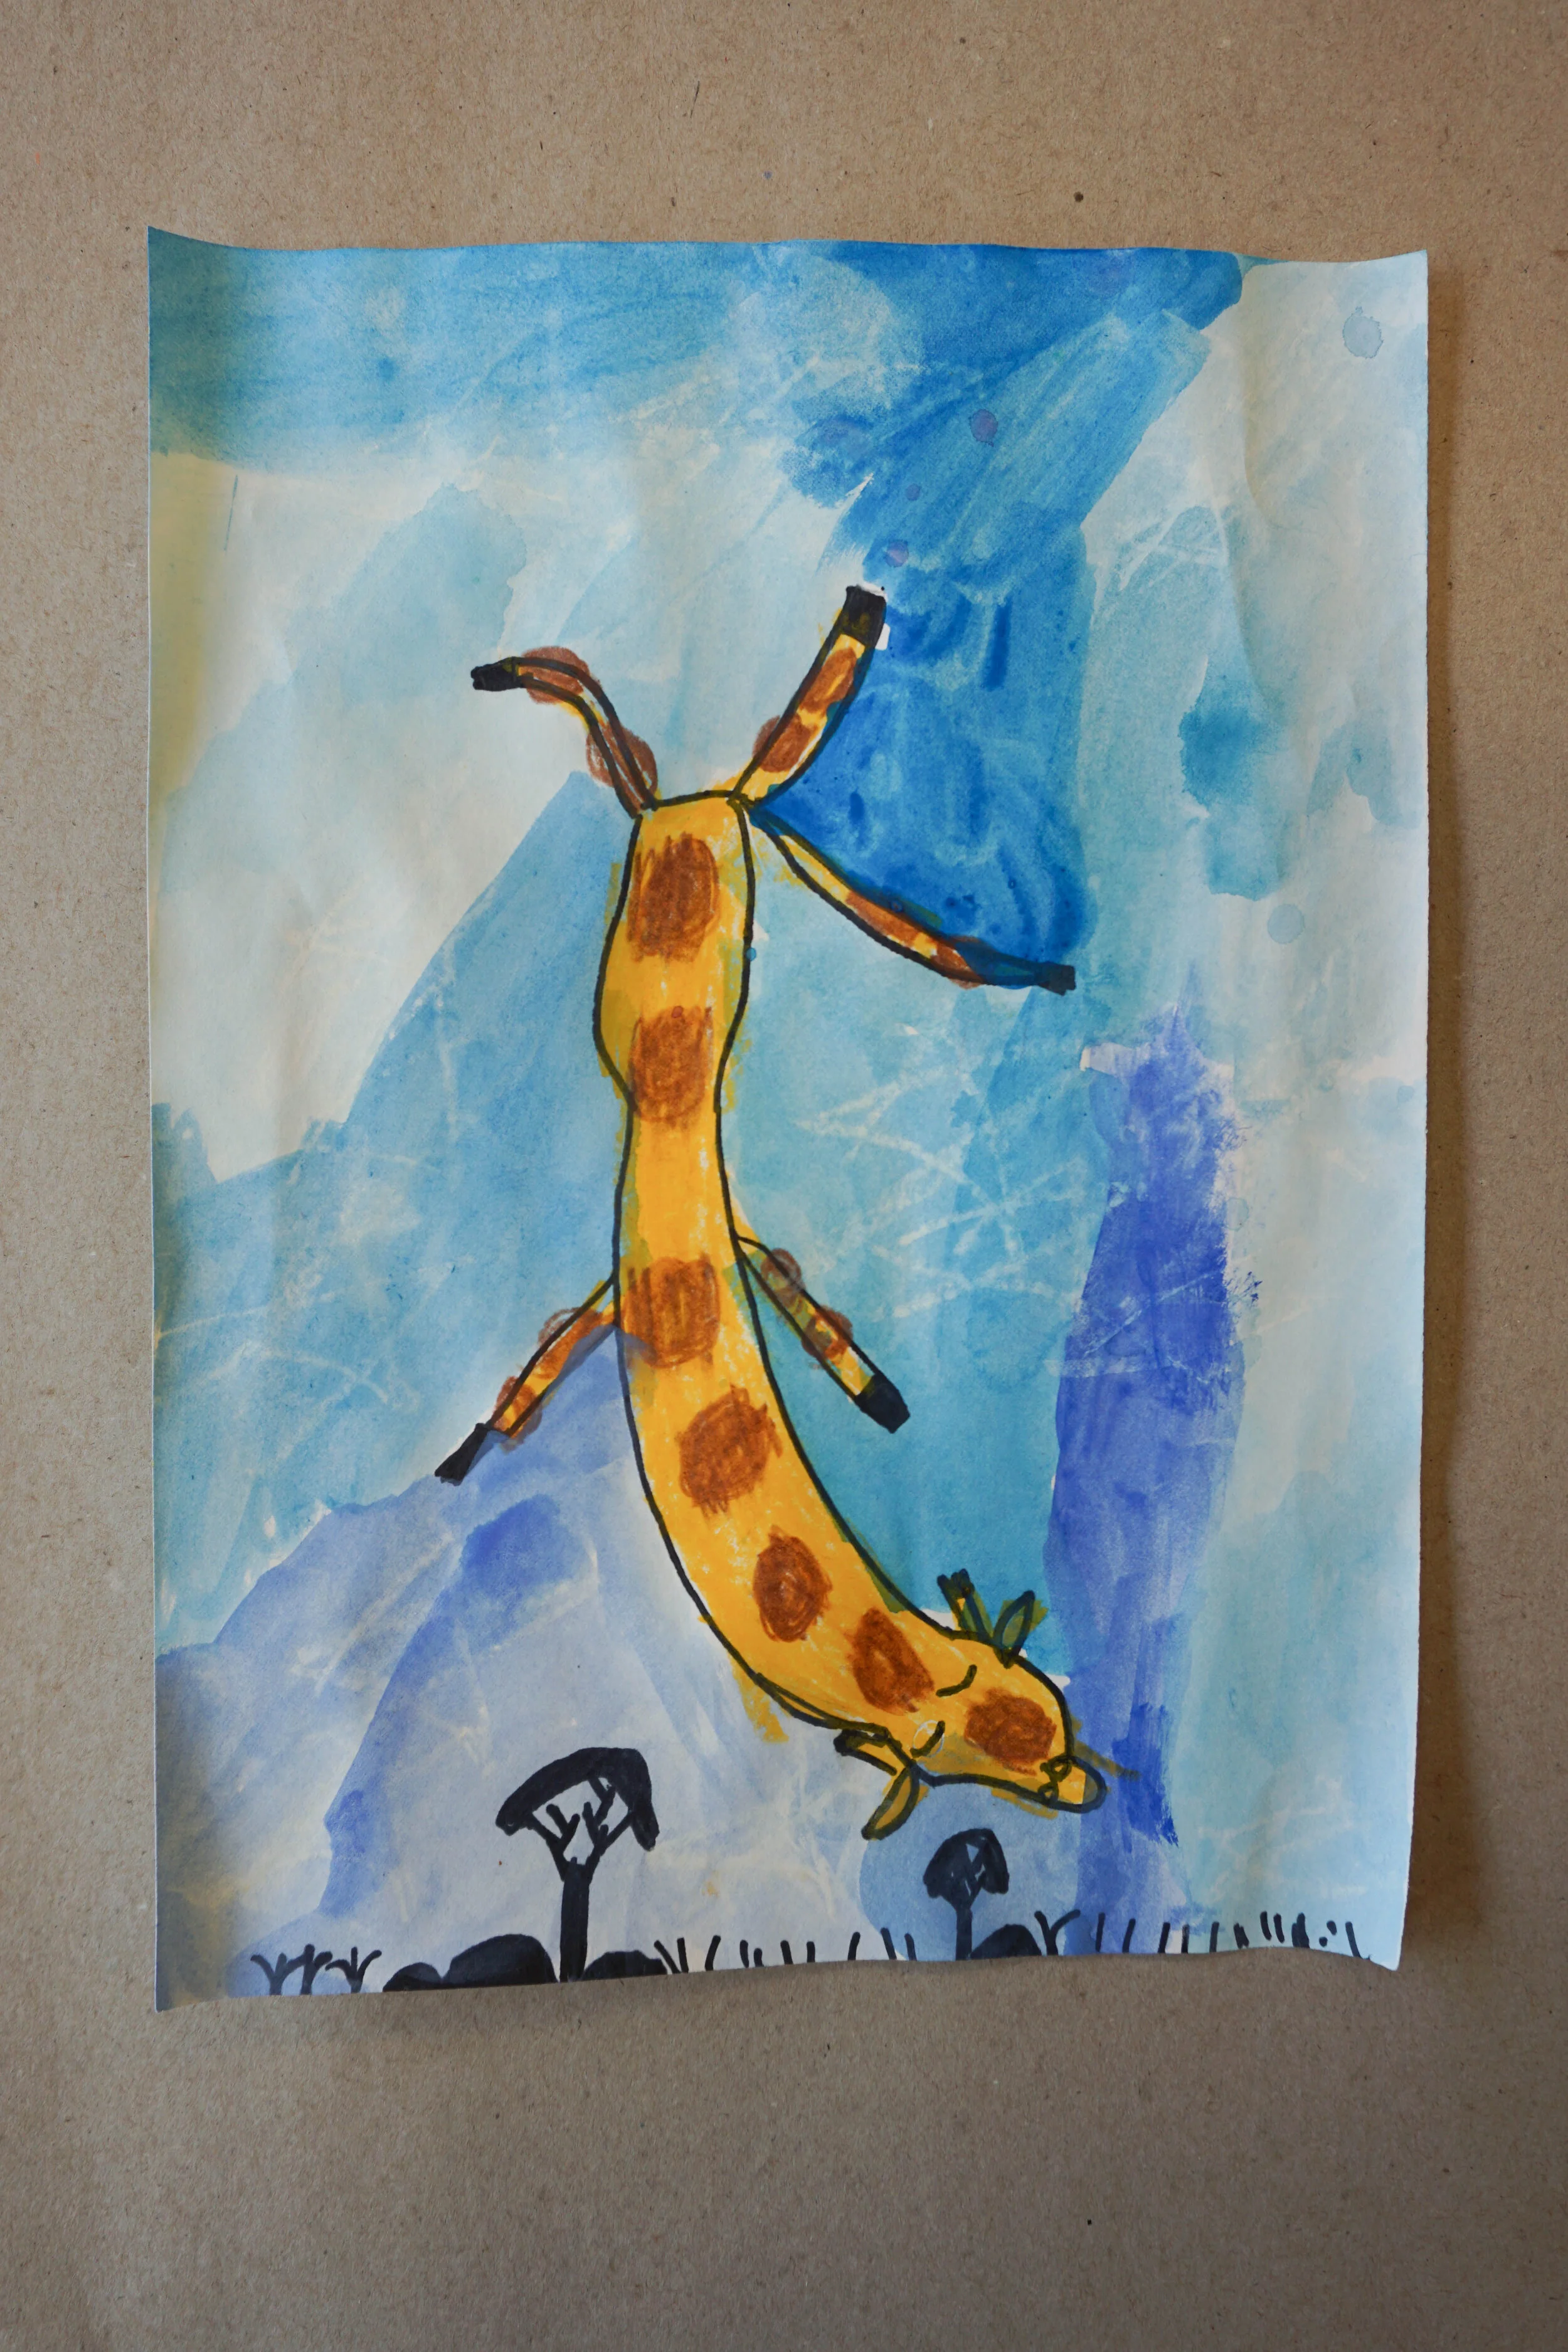
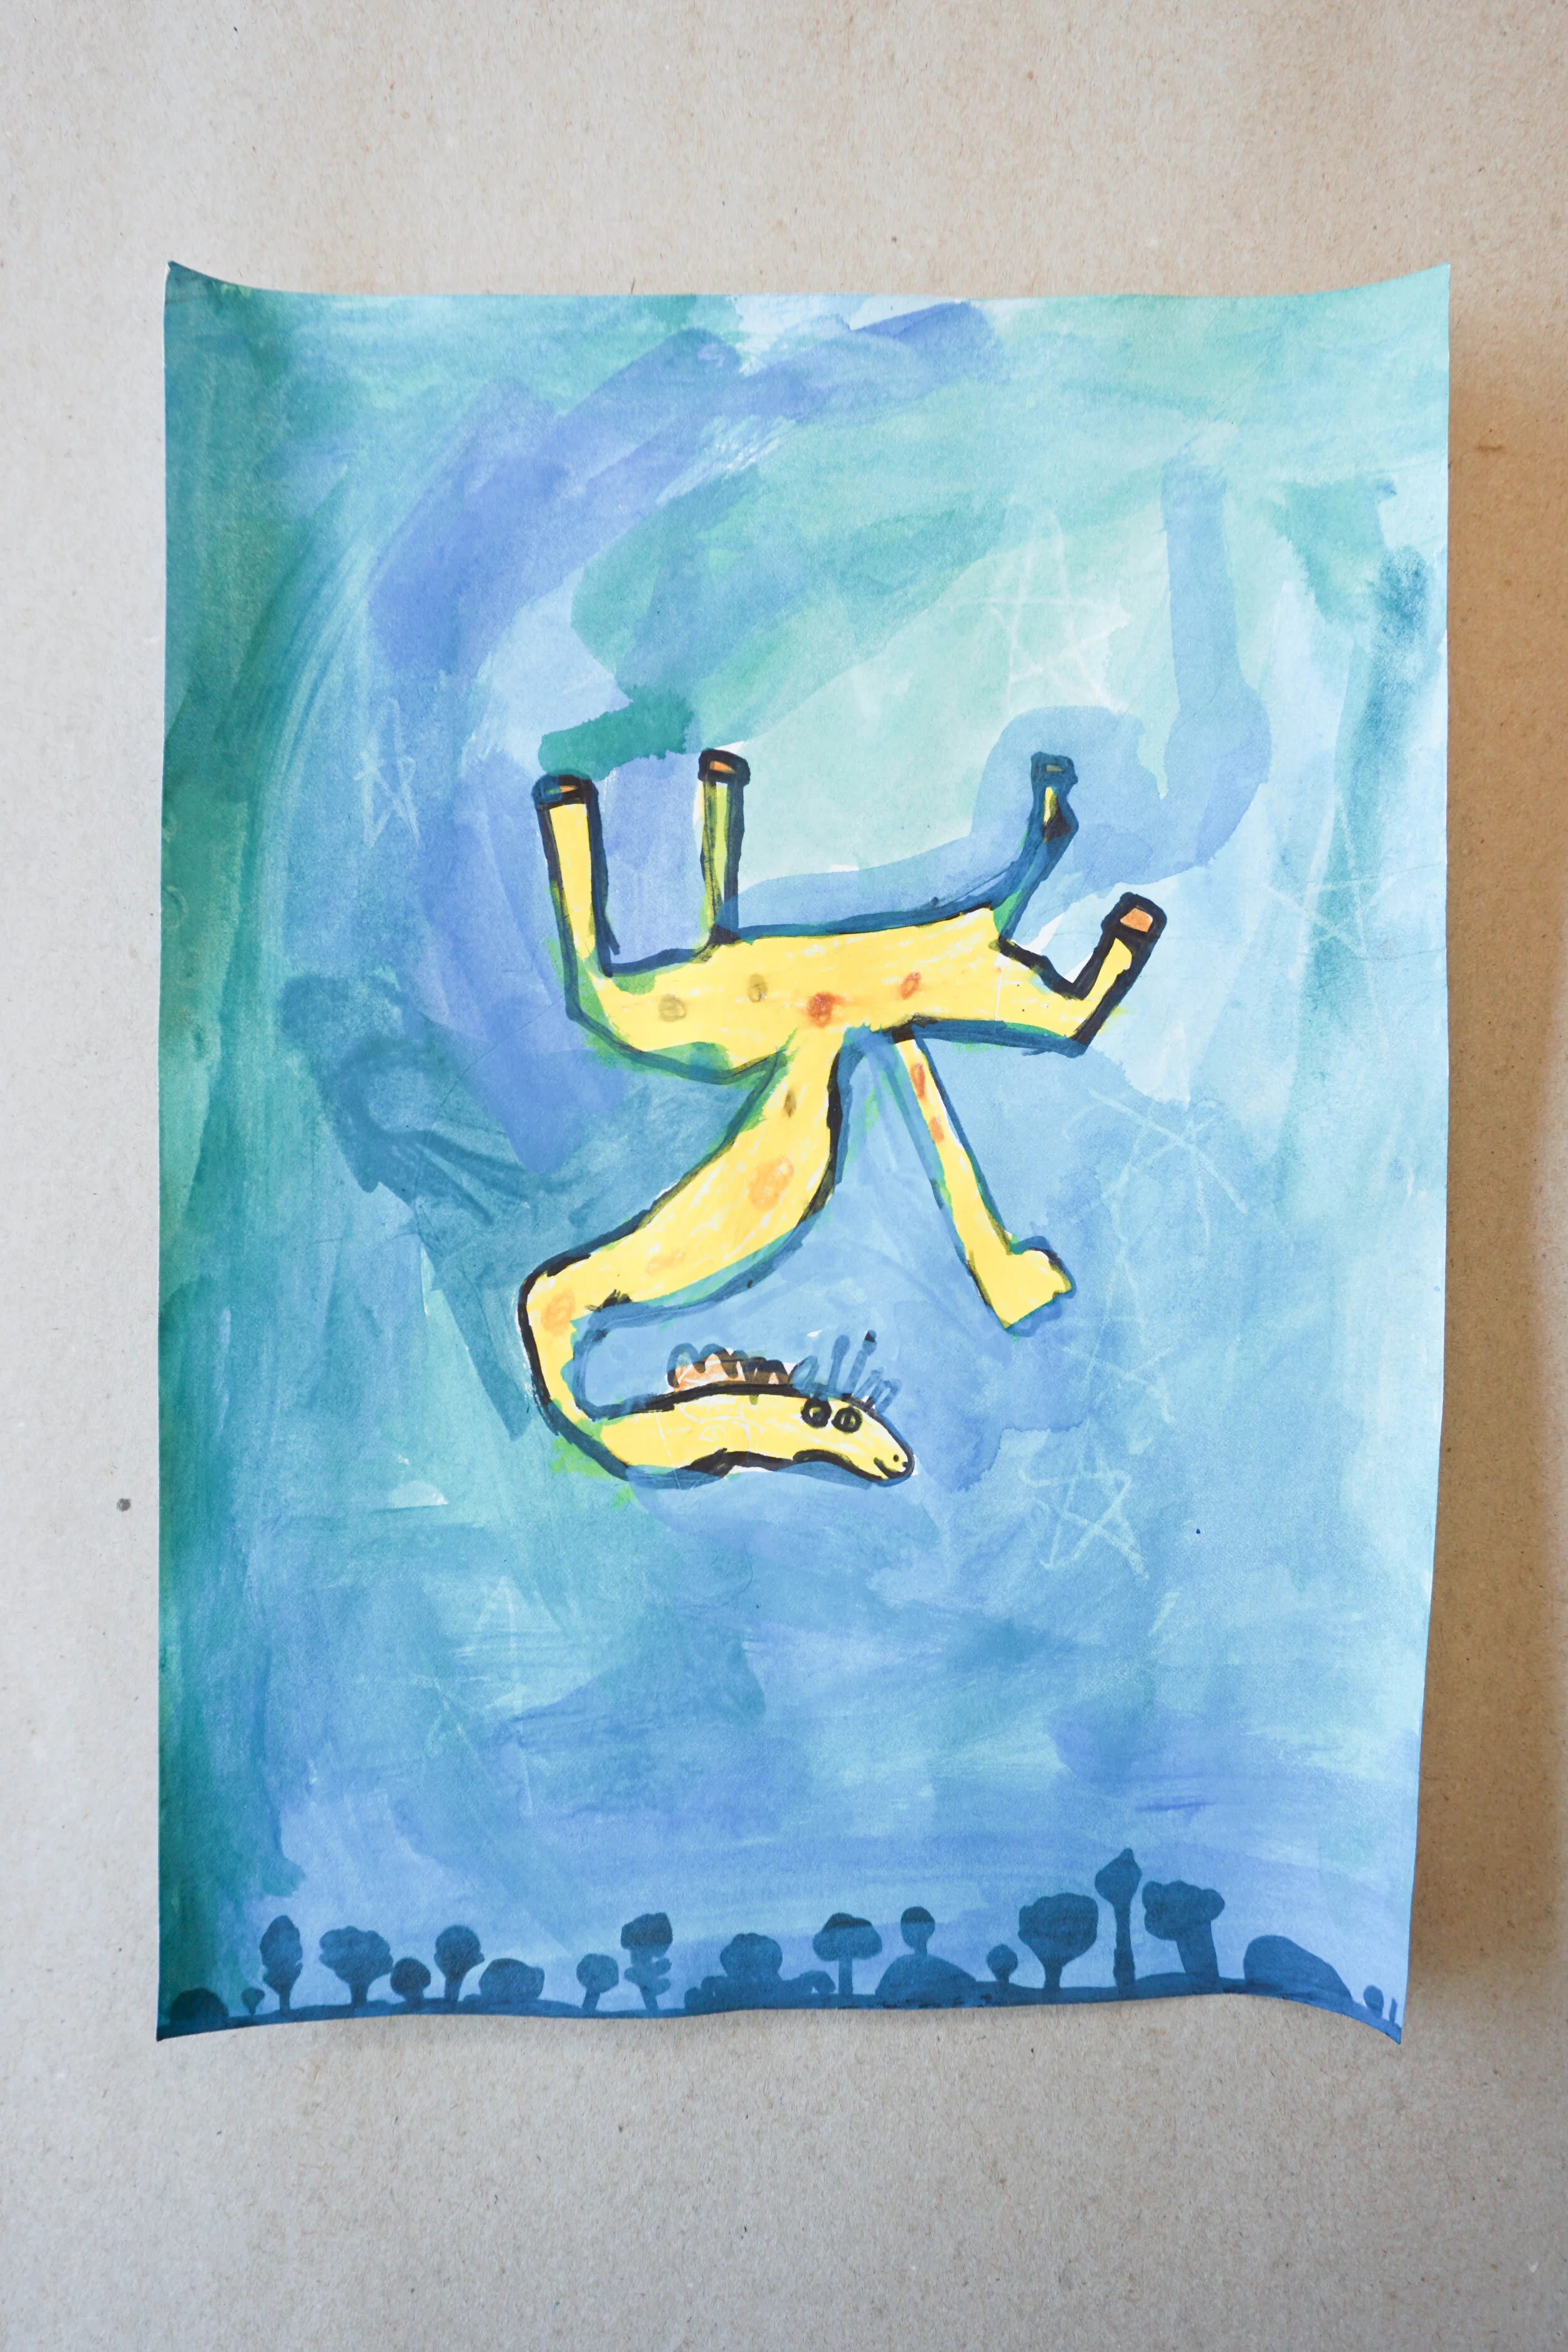
Diagonal Lines: There are so many dancing, moving animals and each and everyone of them is built out of diagonal, and sometimes curved, lines. If every line were vertical then the animal would be standing straight. Horizontal lines- sleepy time. But we have so many slightly curved bodies, legs and arms poking out at 45 degree angles. It’s the most obvious and easy to spot way of showing movement.
Movement Lines: These are little lines that look like quotation marks and we find them near hooves, heads, tails, really anywhere something is moving. These are also easy to spot though not always the most obvious to tiny human eyes.
Repeating curved shapes: This one comes to us in the form of Gerald’s spinning tail. We all know that giraffe’s have one tail but in this particular illustration it looks as if he has five tails! Why? Because it’s spinning around and we’re seeing that particular optical illusion that makes one appear as many. I usually give them a few other examples including propellers spinning and so on.
So now that we have some tools under our belt it’s time to pick which Gerald we’re going to draw. I show a few examples of Gerald in different positions and do a quick demo of drawing him- head, belly, neck, then limbs and tail. Students are allowed to go look at the book at the front of the room or examine some of my examples that I leave on a table. Ready. Steady. Go!
MATERIALS:
+ white paper
+ art sticks, colored pencils, or crayons
+ watercolor
+ sharpie
+ pencil and eraser

Before we start drawing Gerald I have them create a savannah silhouette at the bottom of our paper. Starting with sharpie from the start (to save time) tiny humans draw small trees that we saw in the book, rocks, and grass. These are in the background so they should be small, they’re not our focus. Our emphasis is on Gerald moving so we need as much room for him as possible.
Now draw Gerald dancing, jumping, twirling, etc with pencil. Once you’re happy with your Gerald trace and erase. How are you showing him moving? Just diagonal and curved lines? Movement lines? Repeating shapes? Make sure you’ve shown at least one of those possibilities. Do you have the other details- tail hair, hooves, ears, horns, face?


Next, color that giraffe! Stick to yellows, browns, and maybe even a little orange. Giraffes in different regions of Africa have different fur patterns. Here’s a great chart to understand the differences. Make sure your colors are solid and there are no white spots. Using a white crayon add some stars to the background like you see on the cover of the book.

Now it’s time to give the background a beautiful blue wash. Using a variety of blues makes the sky more interesting to look at. The watercolor should cover everything but Gerald. Notice we even paint over top of the savannah silhouette. Let this dry before trying to pick up your awesome artwork.
Below are two full galleries of past Geralds. You can see so much unique movement, solid coloring, some stars, and the beautiful blue skies. Do you have a favorite? Good luck and happy making!


