Lurking Alligator or Crocodile
My Pre-K tiny humans have studied North American animals and Polar animals. They’ve moved on to African animals and as always I look to the periphery for ideas. We definitely have alligators in North Carolina, but something we don’t have is crocodiles. Crocodiles are native to parts of Africa and South East Asia but can be found in many parts of the world.
To get started on this project we read through a book from a series that compares and contrasts similar animals/species. We would look at Alligators vs. Crocodiles and look at their differences. I created a small sheet below to demonstrate some of the main physical differences. The first one is going to be the most important for us here. Take a gander…

Before you get started, choose whether you’re going to make a crocodile or an alligator. Here we go!

MATERIALS:
+ blue construction paper
+ green construction paper
+ scrap papers
+ glue
+ scissors
+ pencil
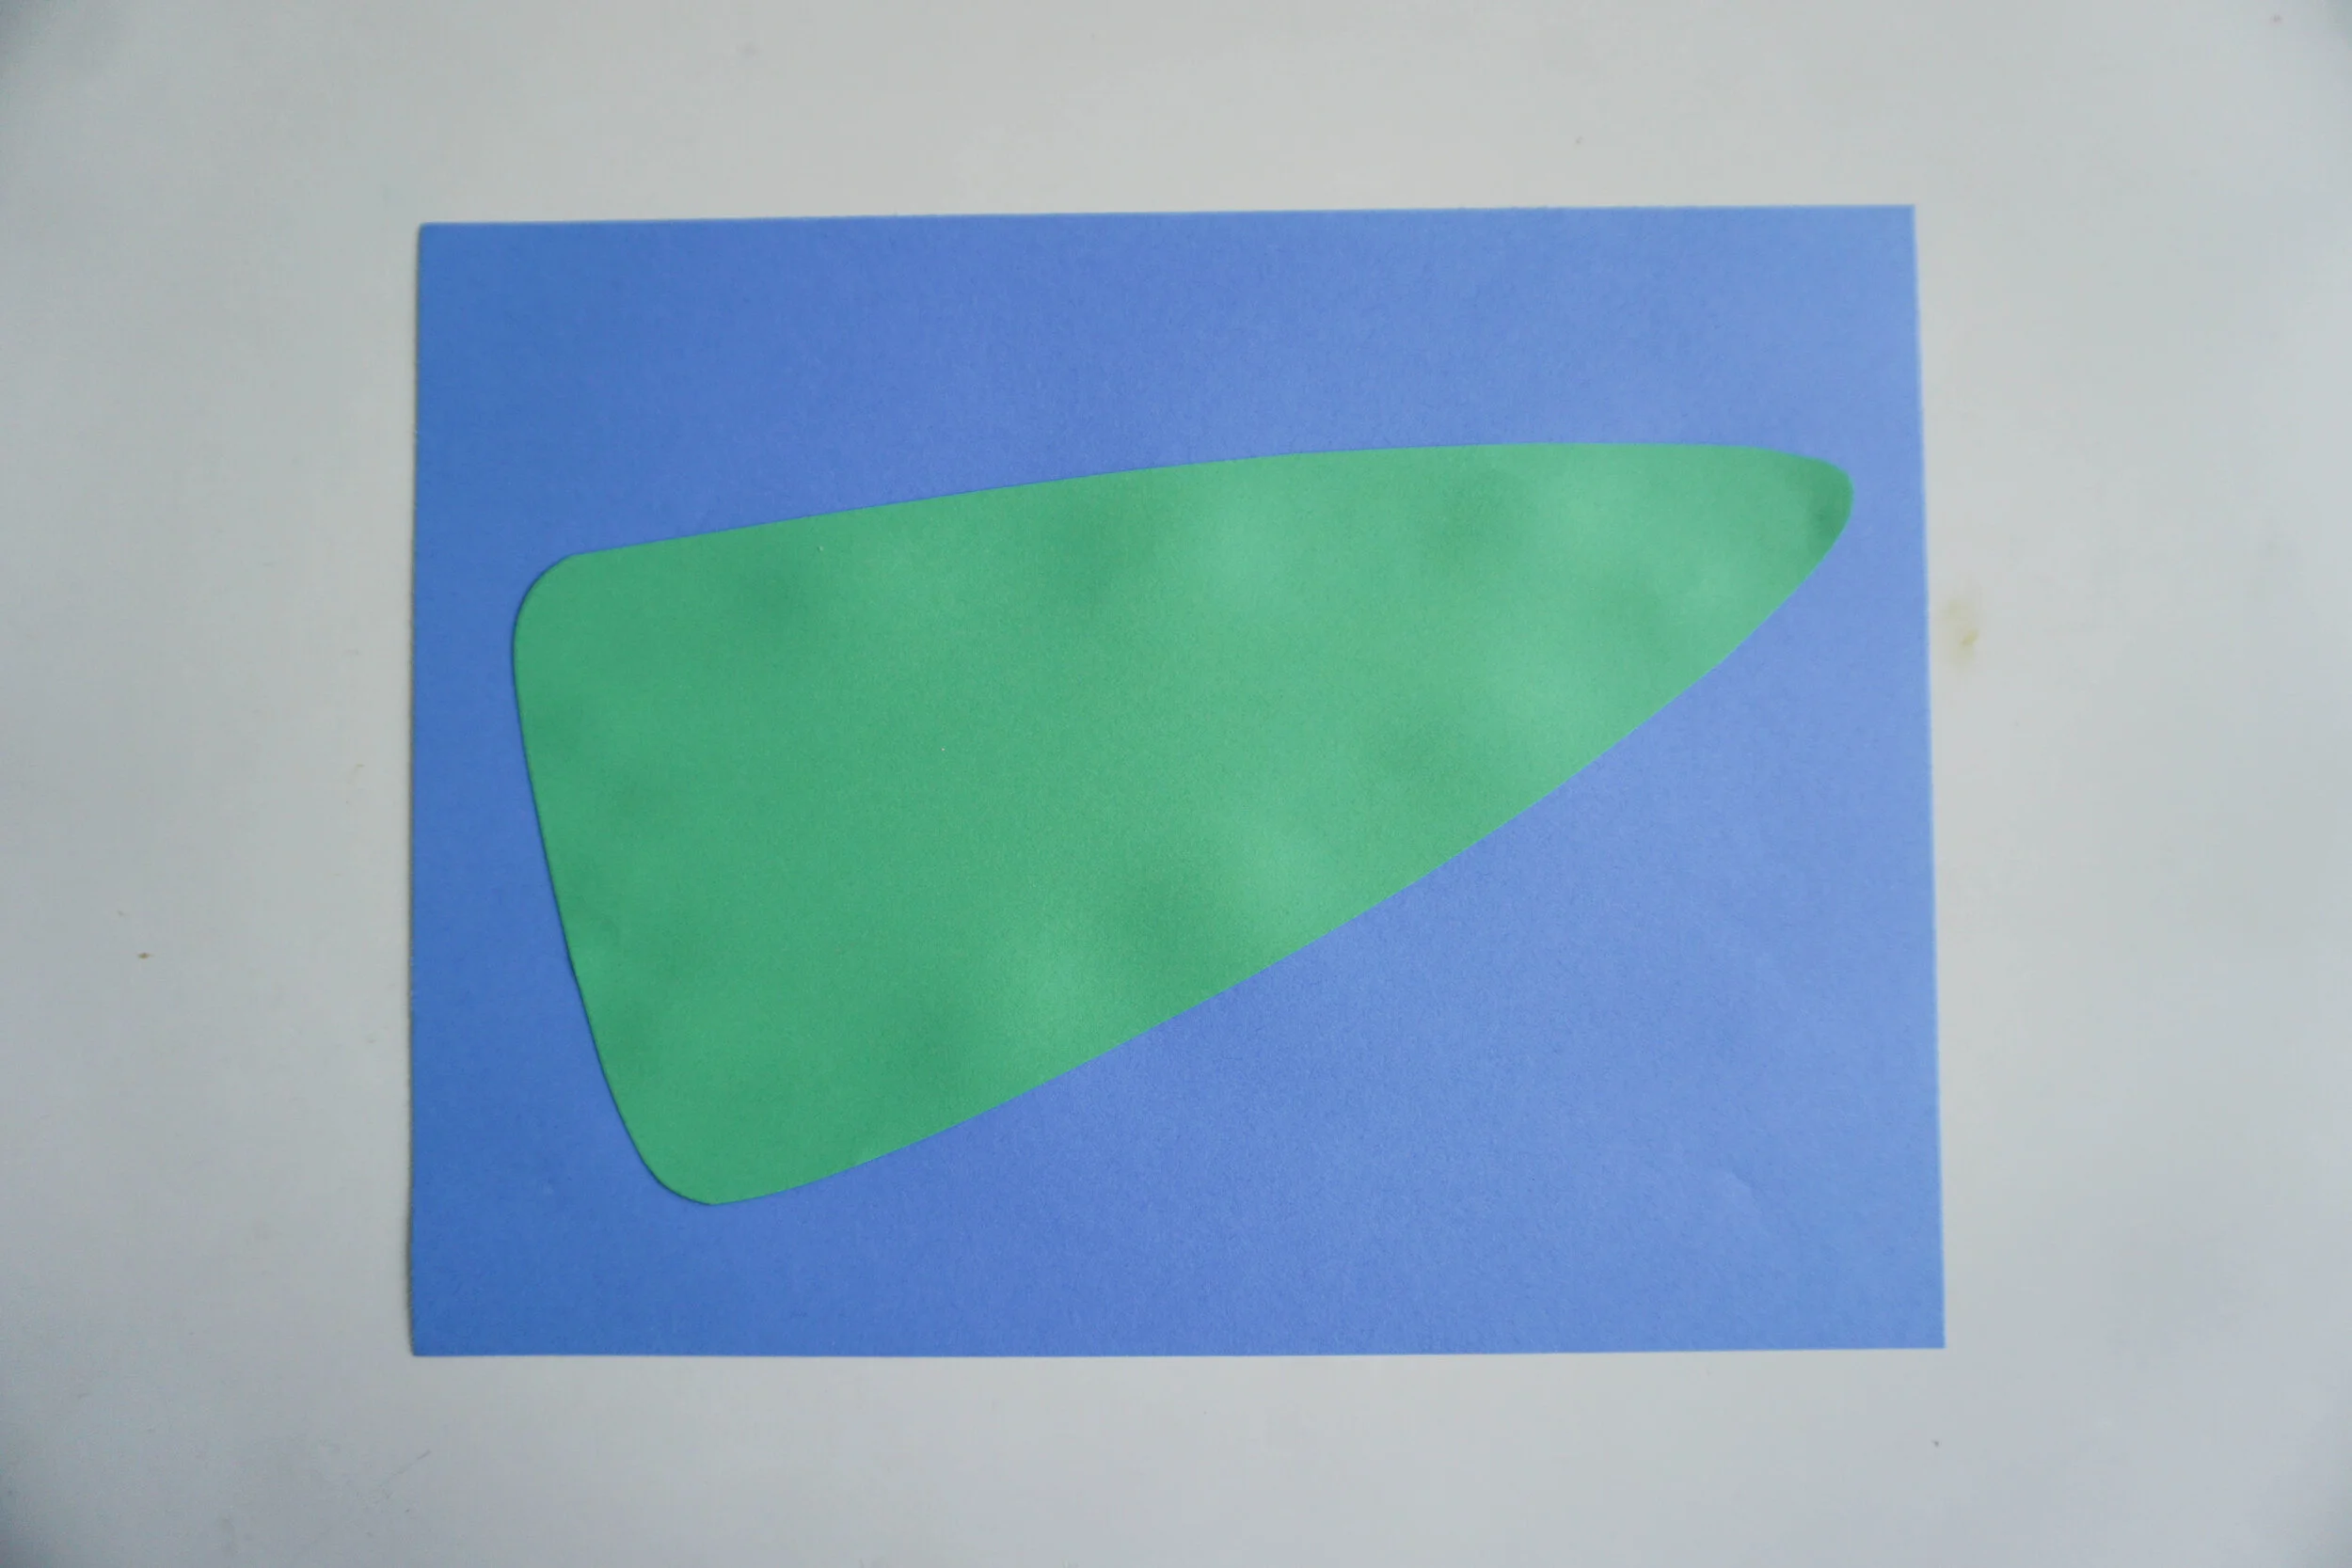
Can you tell which animal I chose to make? Crocodile or alligator? I chose the croc, with its pointy snout. I drew a V shaped snout on my green paper, cut it out, and then glued it onto my blue water background. Today our croc or gator will be lurking just below the water’s surface so we’re only going to see the shape of its snout and some details, not the whole body.


Using some of your green scraps, fold a piece in half and cut out two eye shapes. I cut out two long black pieces for the pupils and glued them in place. The eyes shouldn’t be giant but they shouldn’t be tiny. You can see they’re about as tall as my thumb in the first picture.
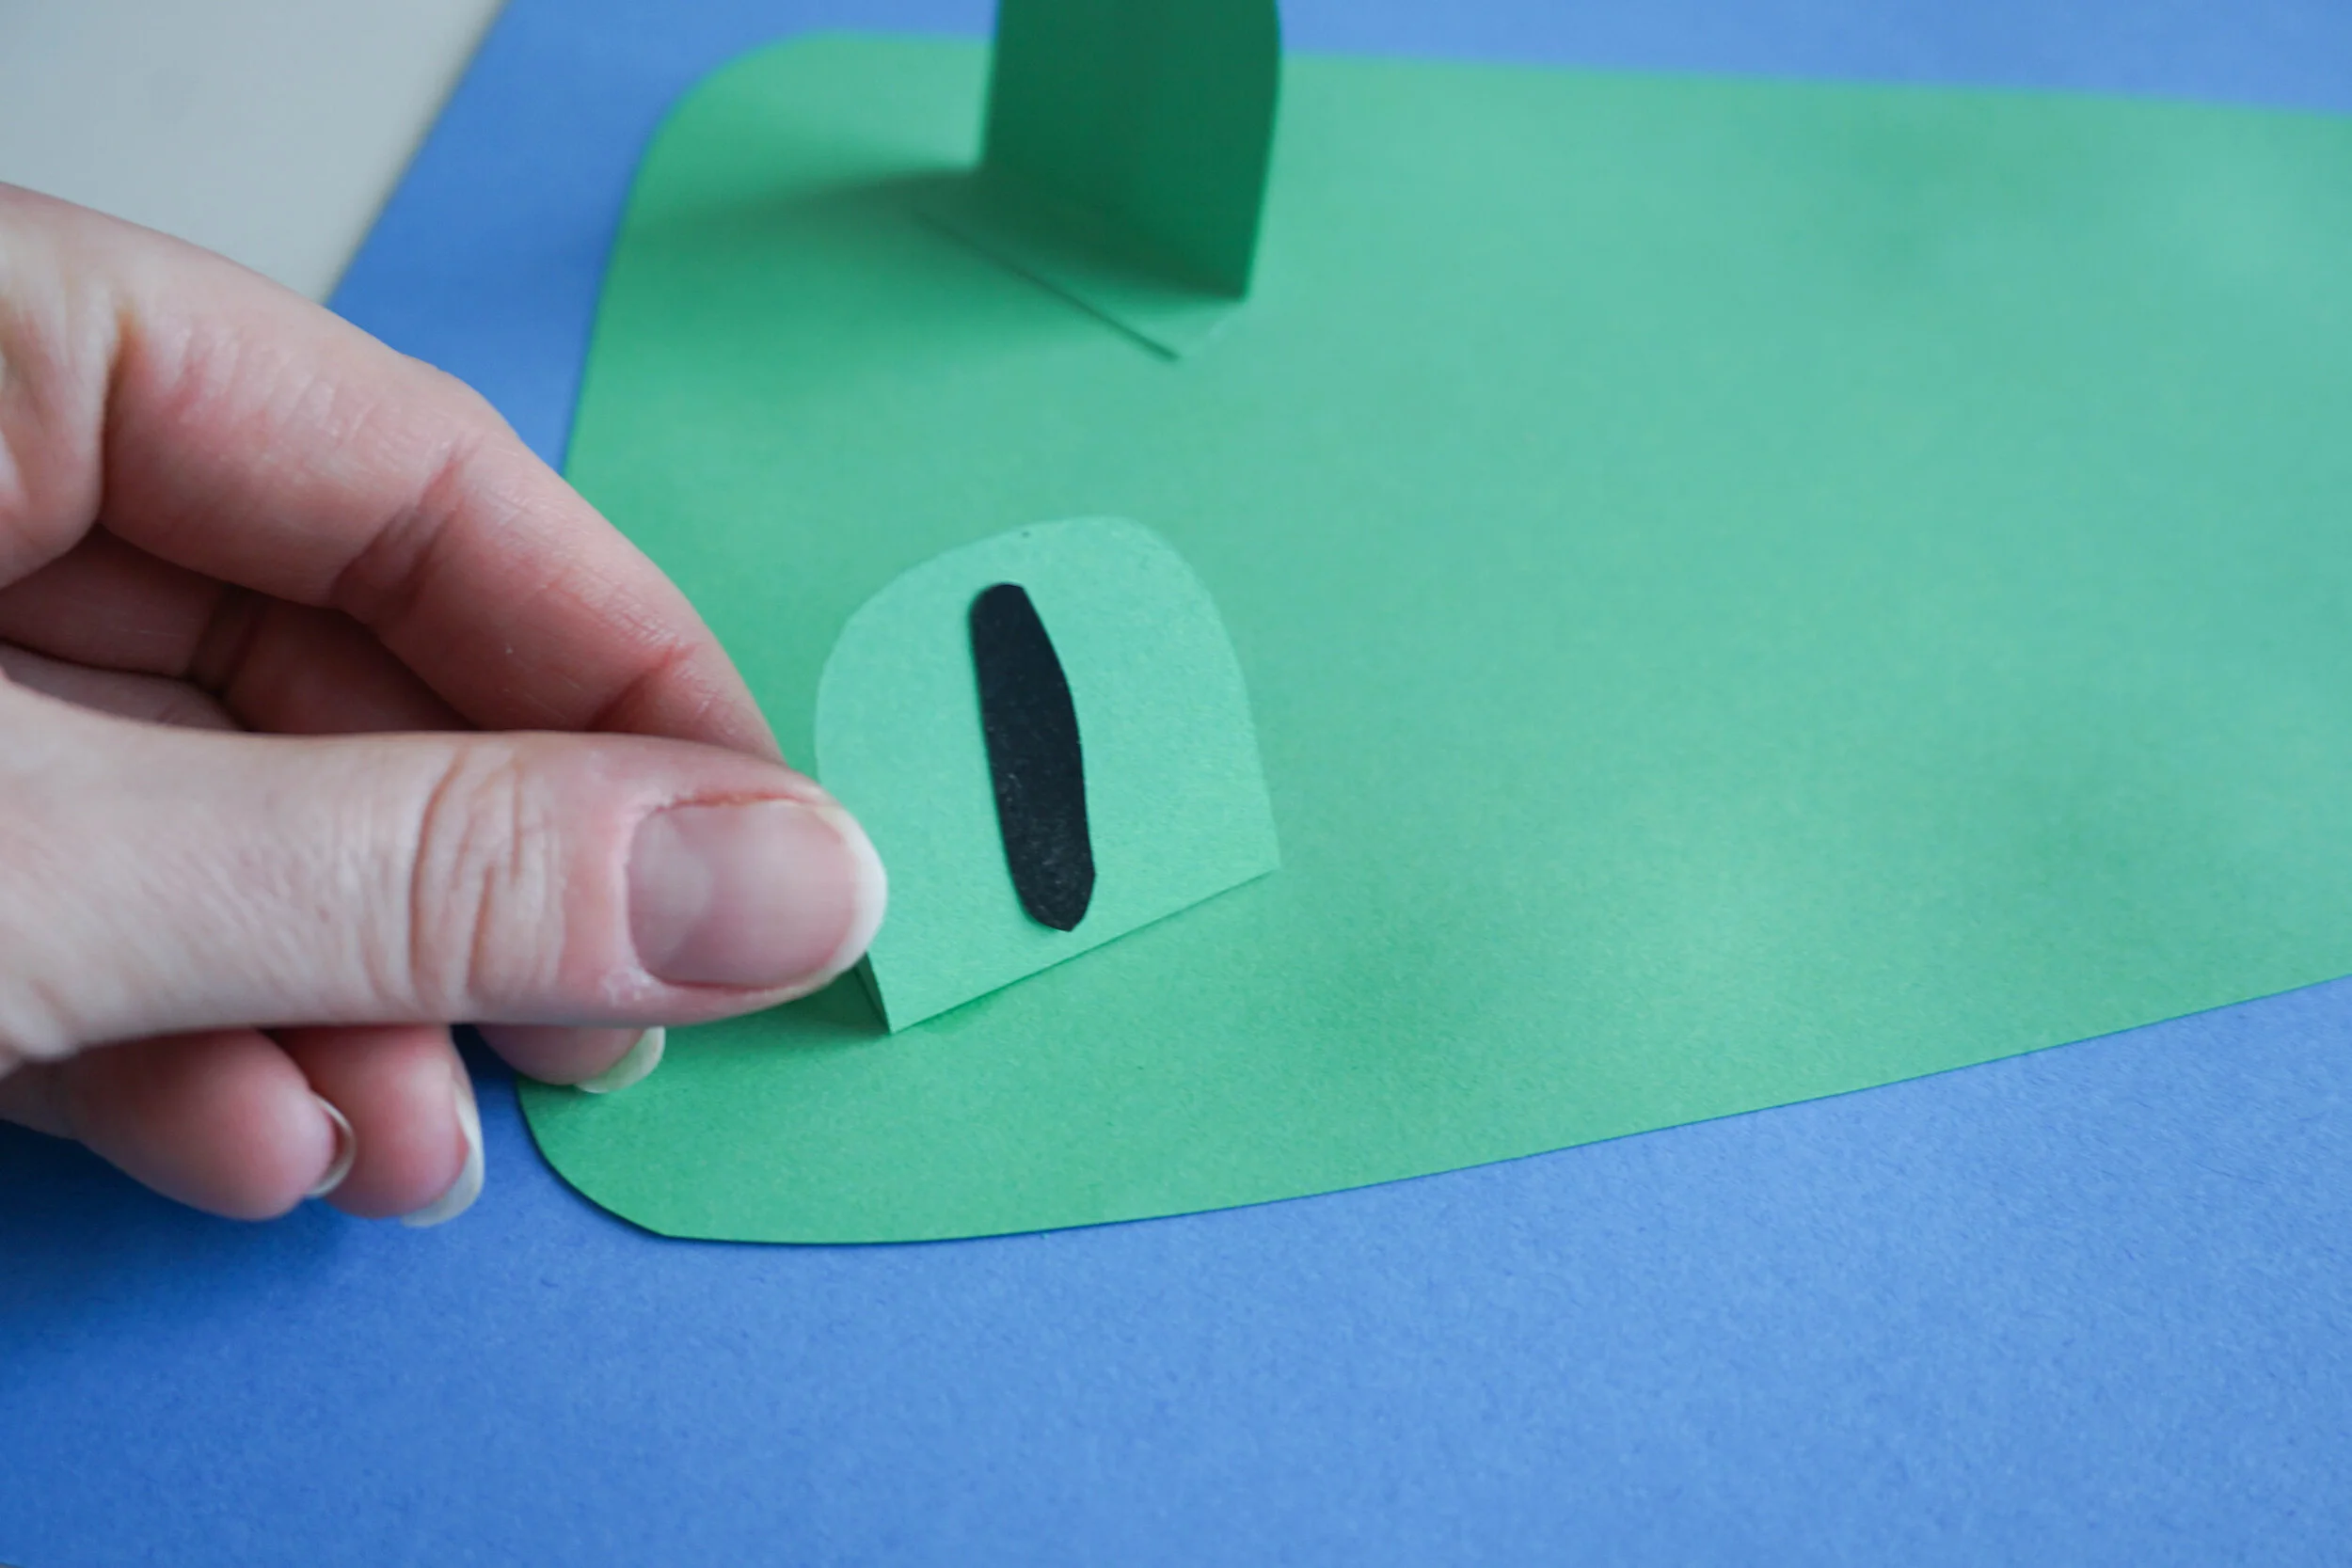
Fold a small portion of the bottom of each eye in order to glue it to your gator/croc head. Notice I put them further back on the head and angled them slightly because if you study pictures they are more to the side of the head then facing forward.

Next I cut up white scrap paper into little triangles for the teeth. Because I chose to make the crocodile I have teeth point up and down, as if some of the bottom teeth are facing upward.

Now it’s time to add some texture. I pulled out some different green paper scraps (I want them to stand out) and cut up many long, slender ellipses. Notice that some are long and some are short. Glue these along the entire head so you get more of a bumpy texture to your gator/croc.


Now we’re going to make some rippling water. Gators and crocs can float pretty serenely (silent and still) for long periods of time just waiting for prey to come close. In a paper project a blank blue water background is not very interesting to look at, so we’re going to add some gentle motion to the water they’re waiting in. I used scrap blue paper (maybe you have some left over from your recycled butterfly?) and I cut them in to wormy, wriggly, curvy shapes. Can you see that I didn’t just cut one side to be curvy, but both sides? Some of the pieces are long and some are short. I spread them out around my crocodile and glued them into place.
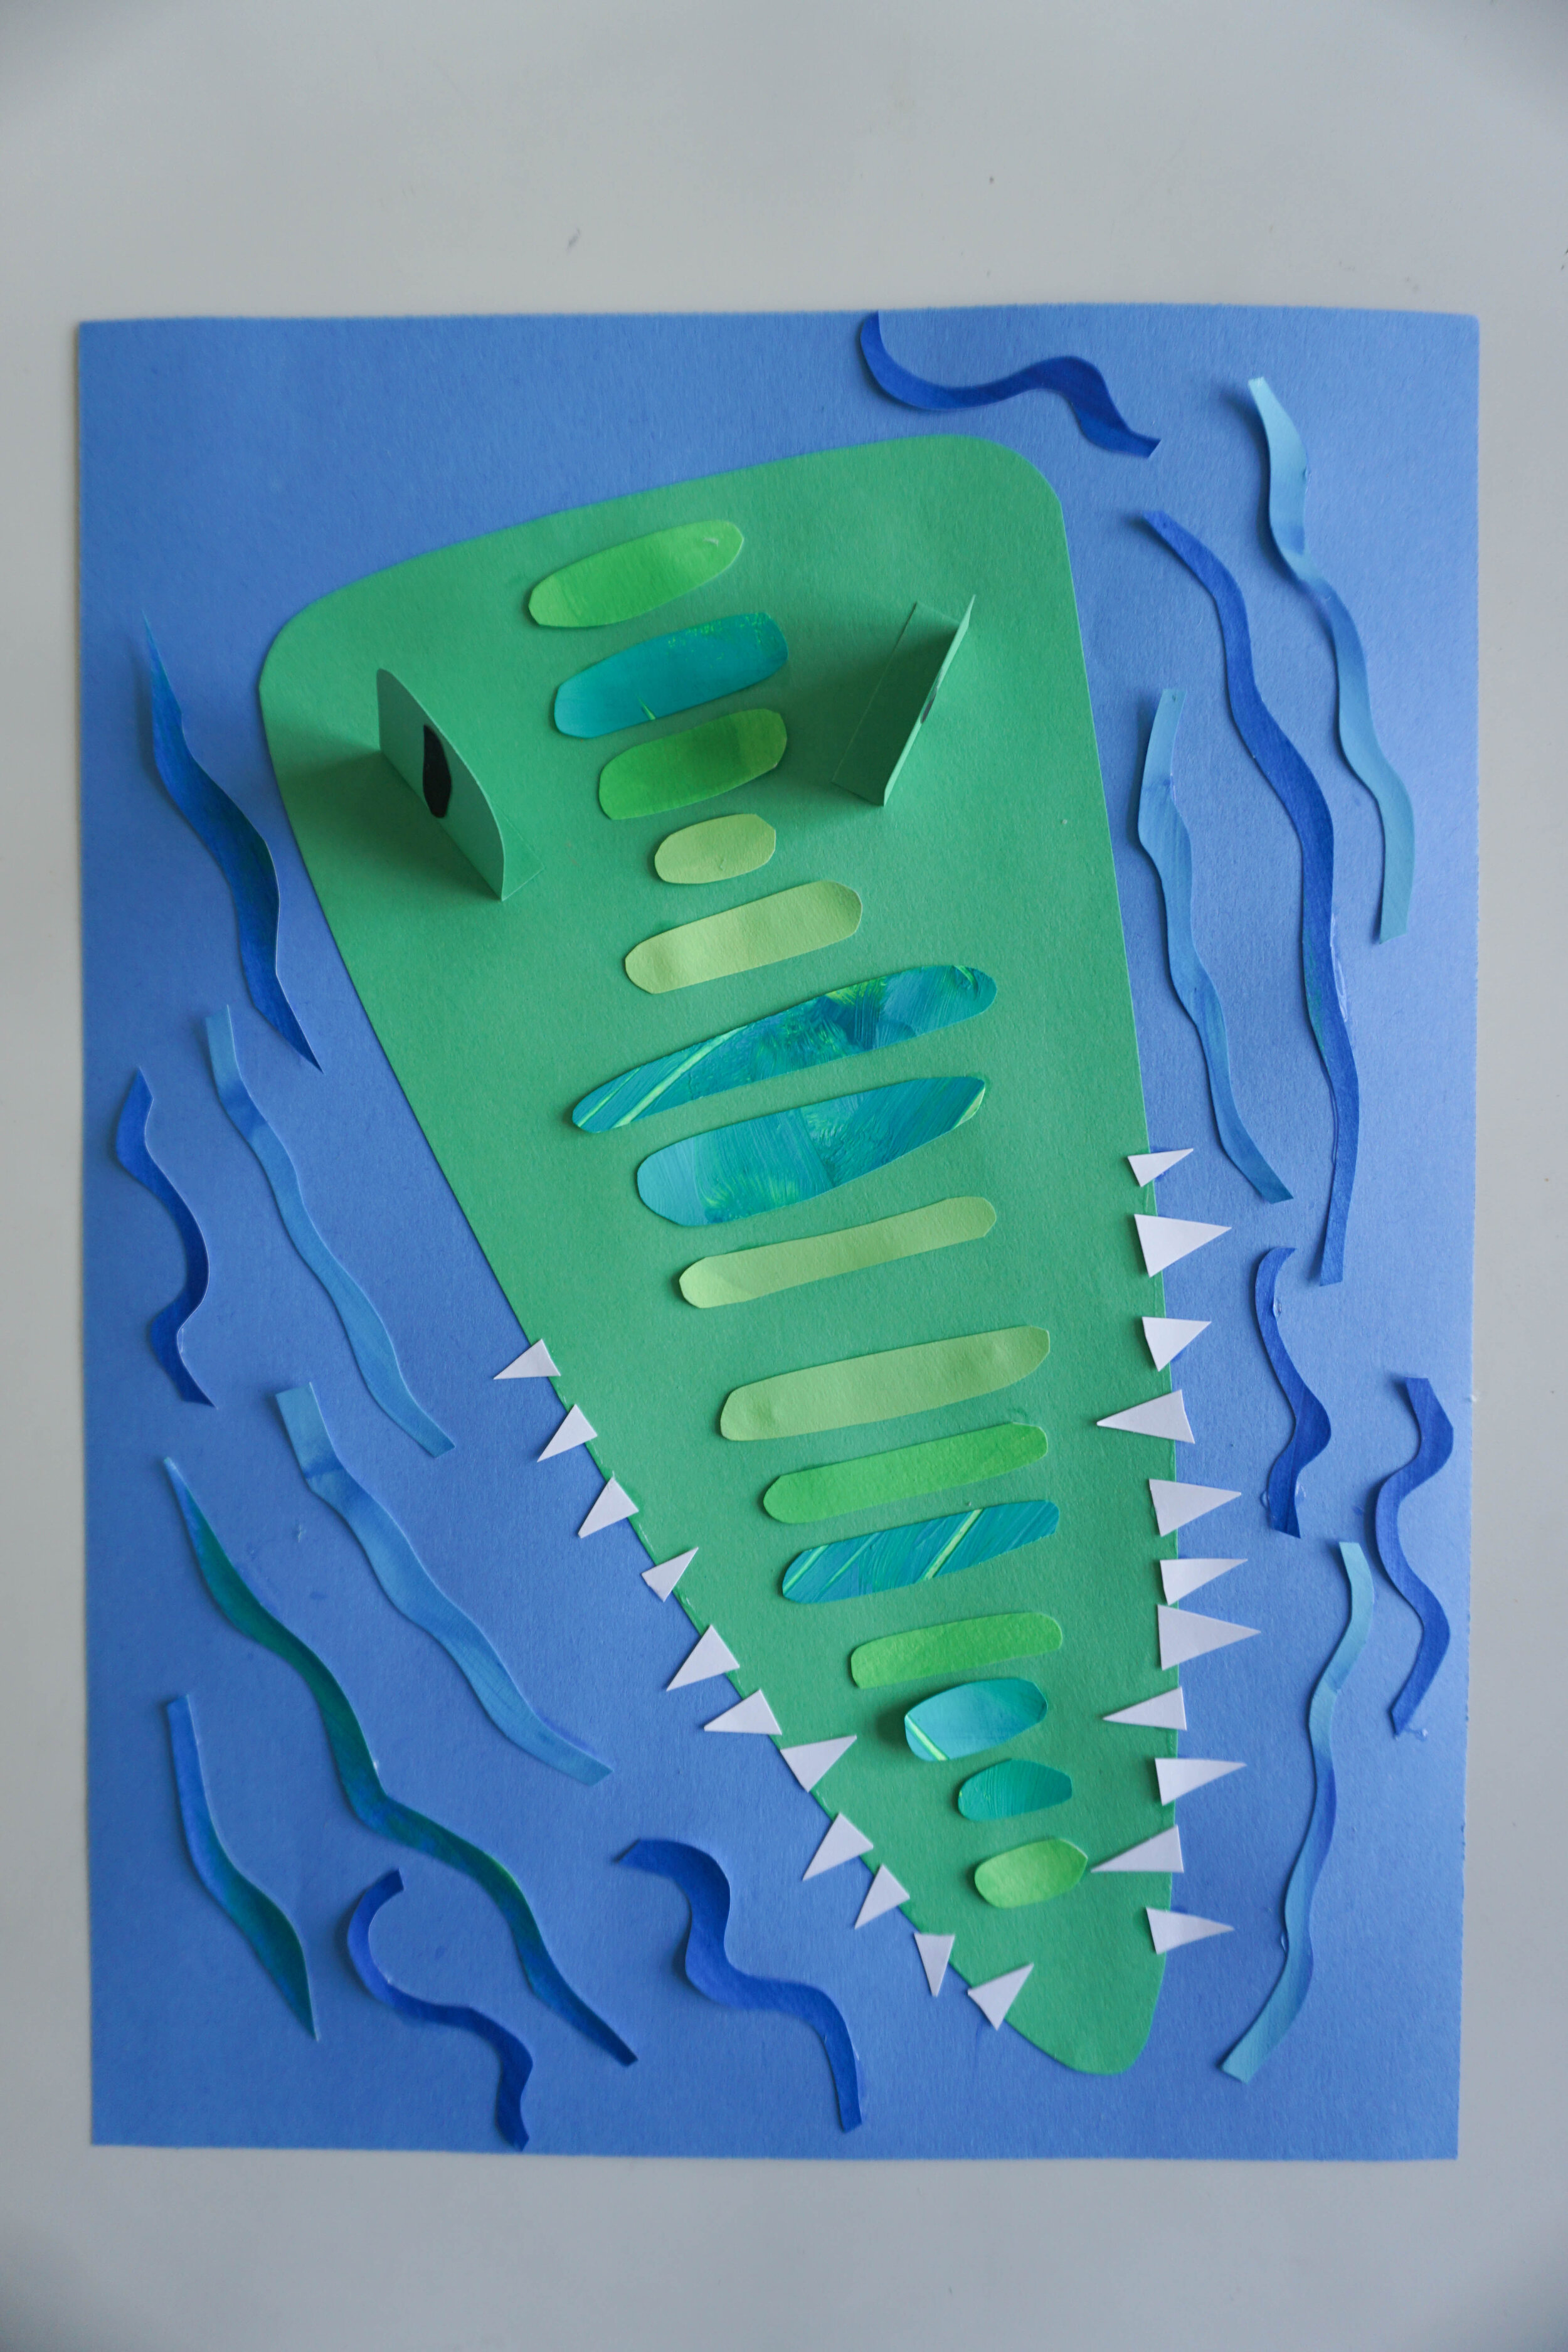
Voilà! You have a patiently waiting, submerged crocodile or alligator. How fabulous is that? Why did you choose the gator or the croc? Have you ever seen one in person before? I have and they are fascinating creatures. Good luck and happy making!