Colorful Bubbles!
This is a lesson I’ve seen circulating around the art teaching insta world for a while now. I generally stay away from trends but this is a great time to try out this drawing exercise. It should only take you about an hour and requires just a few materials.
Spring makes me think of bubbles and bubbles are intoxicating. They’re light, iridescent (rainbow hued), and a delight to chase. What a fun way to celebrate the warmer weather. I think I had a difficult time starting because I wanted to follow the directions so closely. What I learned over the course of making seven bubbles was to loosen up, lower my expectations of what exactly a bubble “should” look like, and just make a bubble already. It’ll look great. No biggie!

MATERIALS:
+ black or dark paper
+ pencil
+ colored pencils, etc - something opaque to show up on a dark background.
+ circle templates - I used lids and cups.

Before I got started I did a google image search of bubbles. I know that they shiny and iridescent but I wanted to look at some real examples to see where the highlights (white parts) and color would show up. If you look at a bubble you’ll notice that the colors curve with the shape of the bubble. We shouldn’t see any straight lines in this project.
My first step was to trace a lid with a pencil. I traced that line with white so that I had a more noticeable bubble shape.


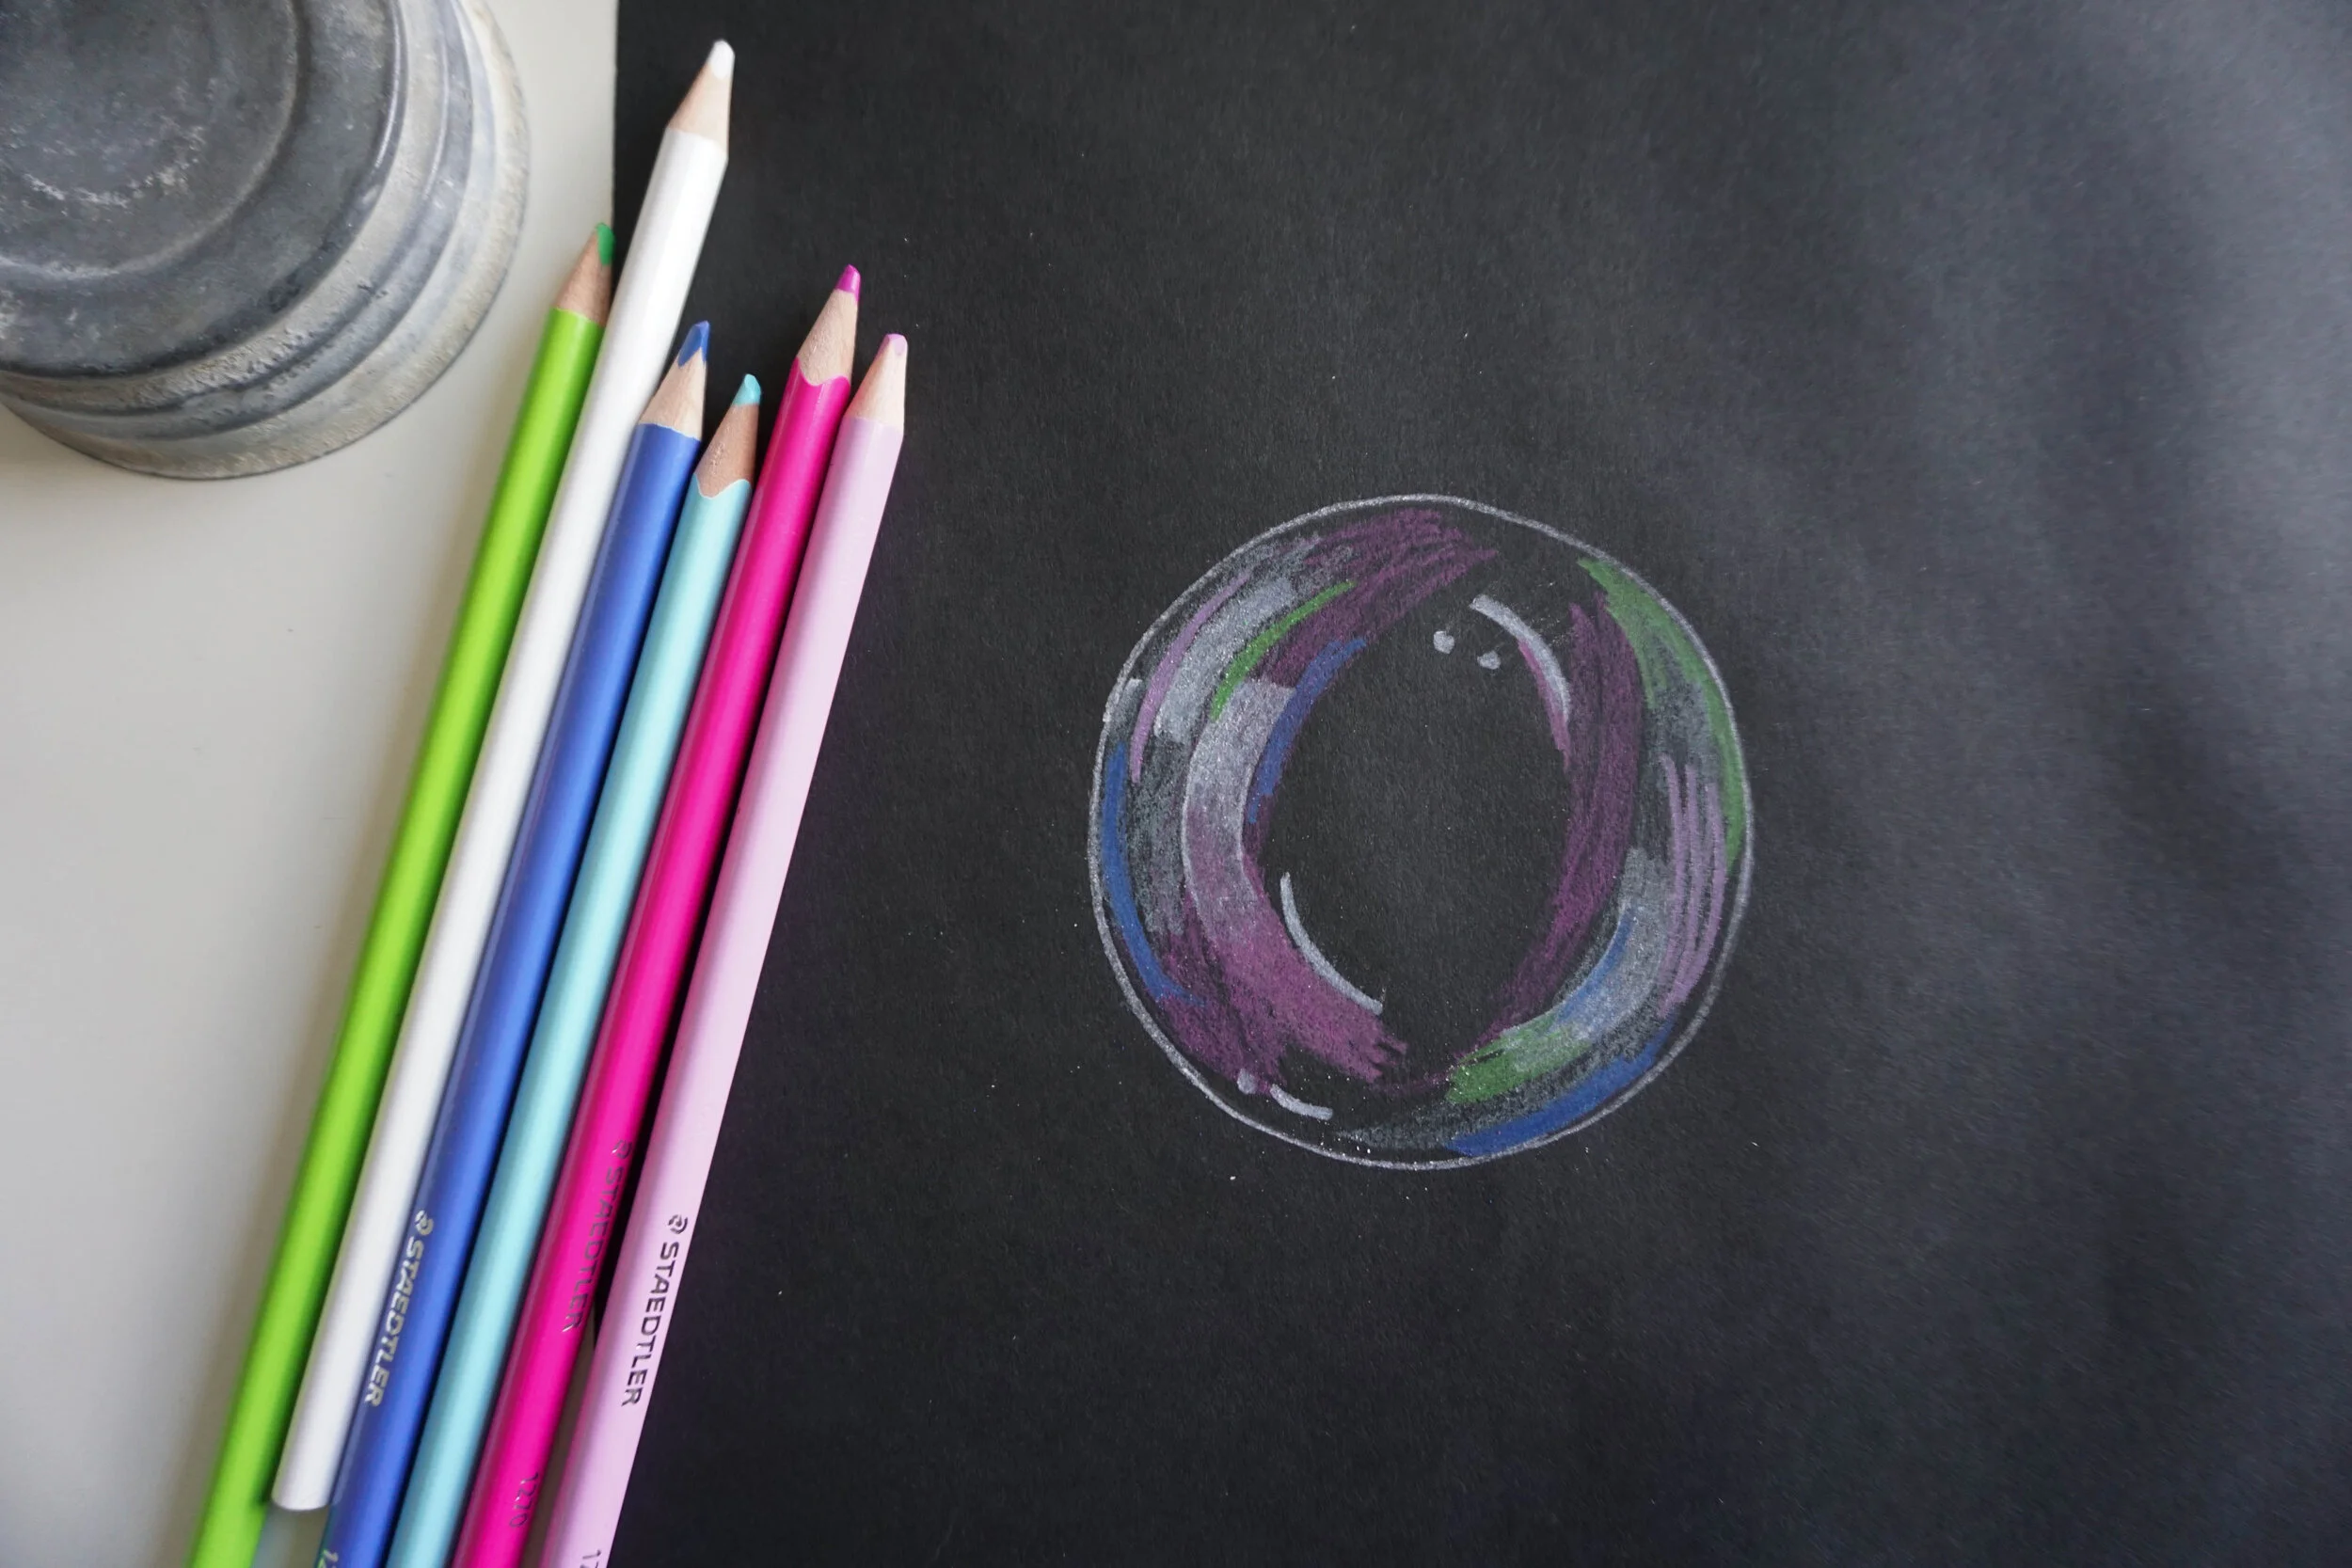
Next I shaded in parts of my bubble. My first example, the one in the photos above, is very rigid. I didn’t really give myself the room to make mistakes or just shade in an area. Go lighter in this step then you think you need to because we’ll be adding layers of color as we go AND be sure to leave some of the bubble black to show that it is transparent (see through).
After I added shading I drew two shapes that look a bit like elbow macaroni or bent rectangles. These are the highlighted areas, which show me where light is hitting the bubble the most. I filled them in with the white and add a few thinner highlights and dots.
To finish I went in with some other colors and layered over the highlights and shading to give the bubble more of that rainbow quality. I did top off the bubble with some little glimmers of light, those small stars.

Because the bubbles are floating near each other I kept the highlights in roughly the same place on each bubble. If sunlight was hitting them to the top left and bottom right it wouldn’t all of a sudden hit one on the top right and bottom left sides. That’s just not how light works. The highlights are definitely different but the position of them shouldn’t be so off.
You can fill your paper if you want to just stick to a few. For more of a challenge you can try to overlap bubbles- coloring two at the same time. What did you find difficult about this project? Good luck and happy making!