Reusable Produce Bag

My parents have given me many nicknames over the years, it's a thing we do. One of the earliest nicknames was "The Bag Lady". You can probably guess why- I would carry around purses, bags, totes, anything that would fit on my shoulder. I would carry an arm full. I still do. Sometimes I feel like a pack mule as I head off to school. I have a bag for just about every occasion and I have a weakness for reusable bags. I'm talking IKEA bags of multiple sizes, Wegman's grocery bags, totes, BAGGUs, even Lunchskins. Weakness!
The one kind of reusable bag I didn't have was something that eliminated the need for plastic produce bags. I had seen packs of mesh bags for sale before but I wasn't willing to pay the money for something I knew I could make. They've become cheaper since I made my first set but I still love the feeling of making something so useful. Plus it's a quick and easy project. Promise!

Here's what you'll need:
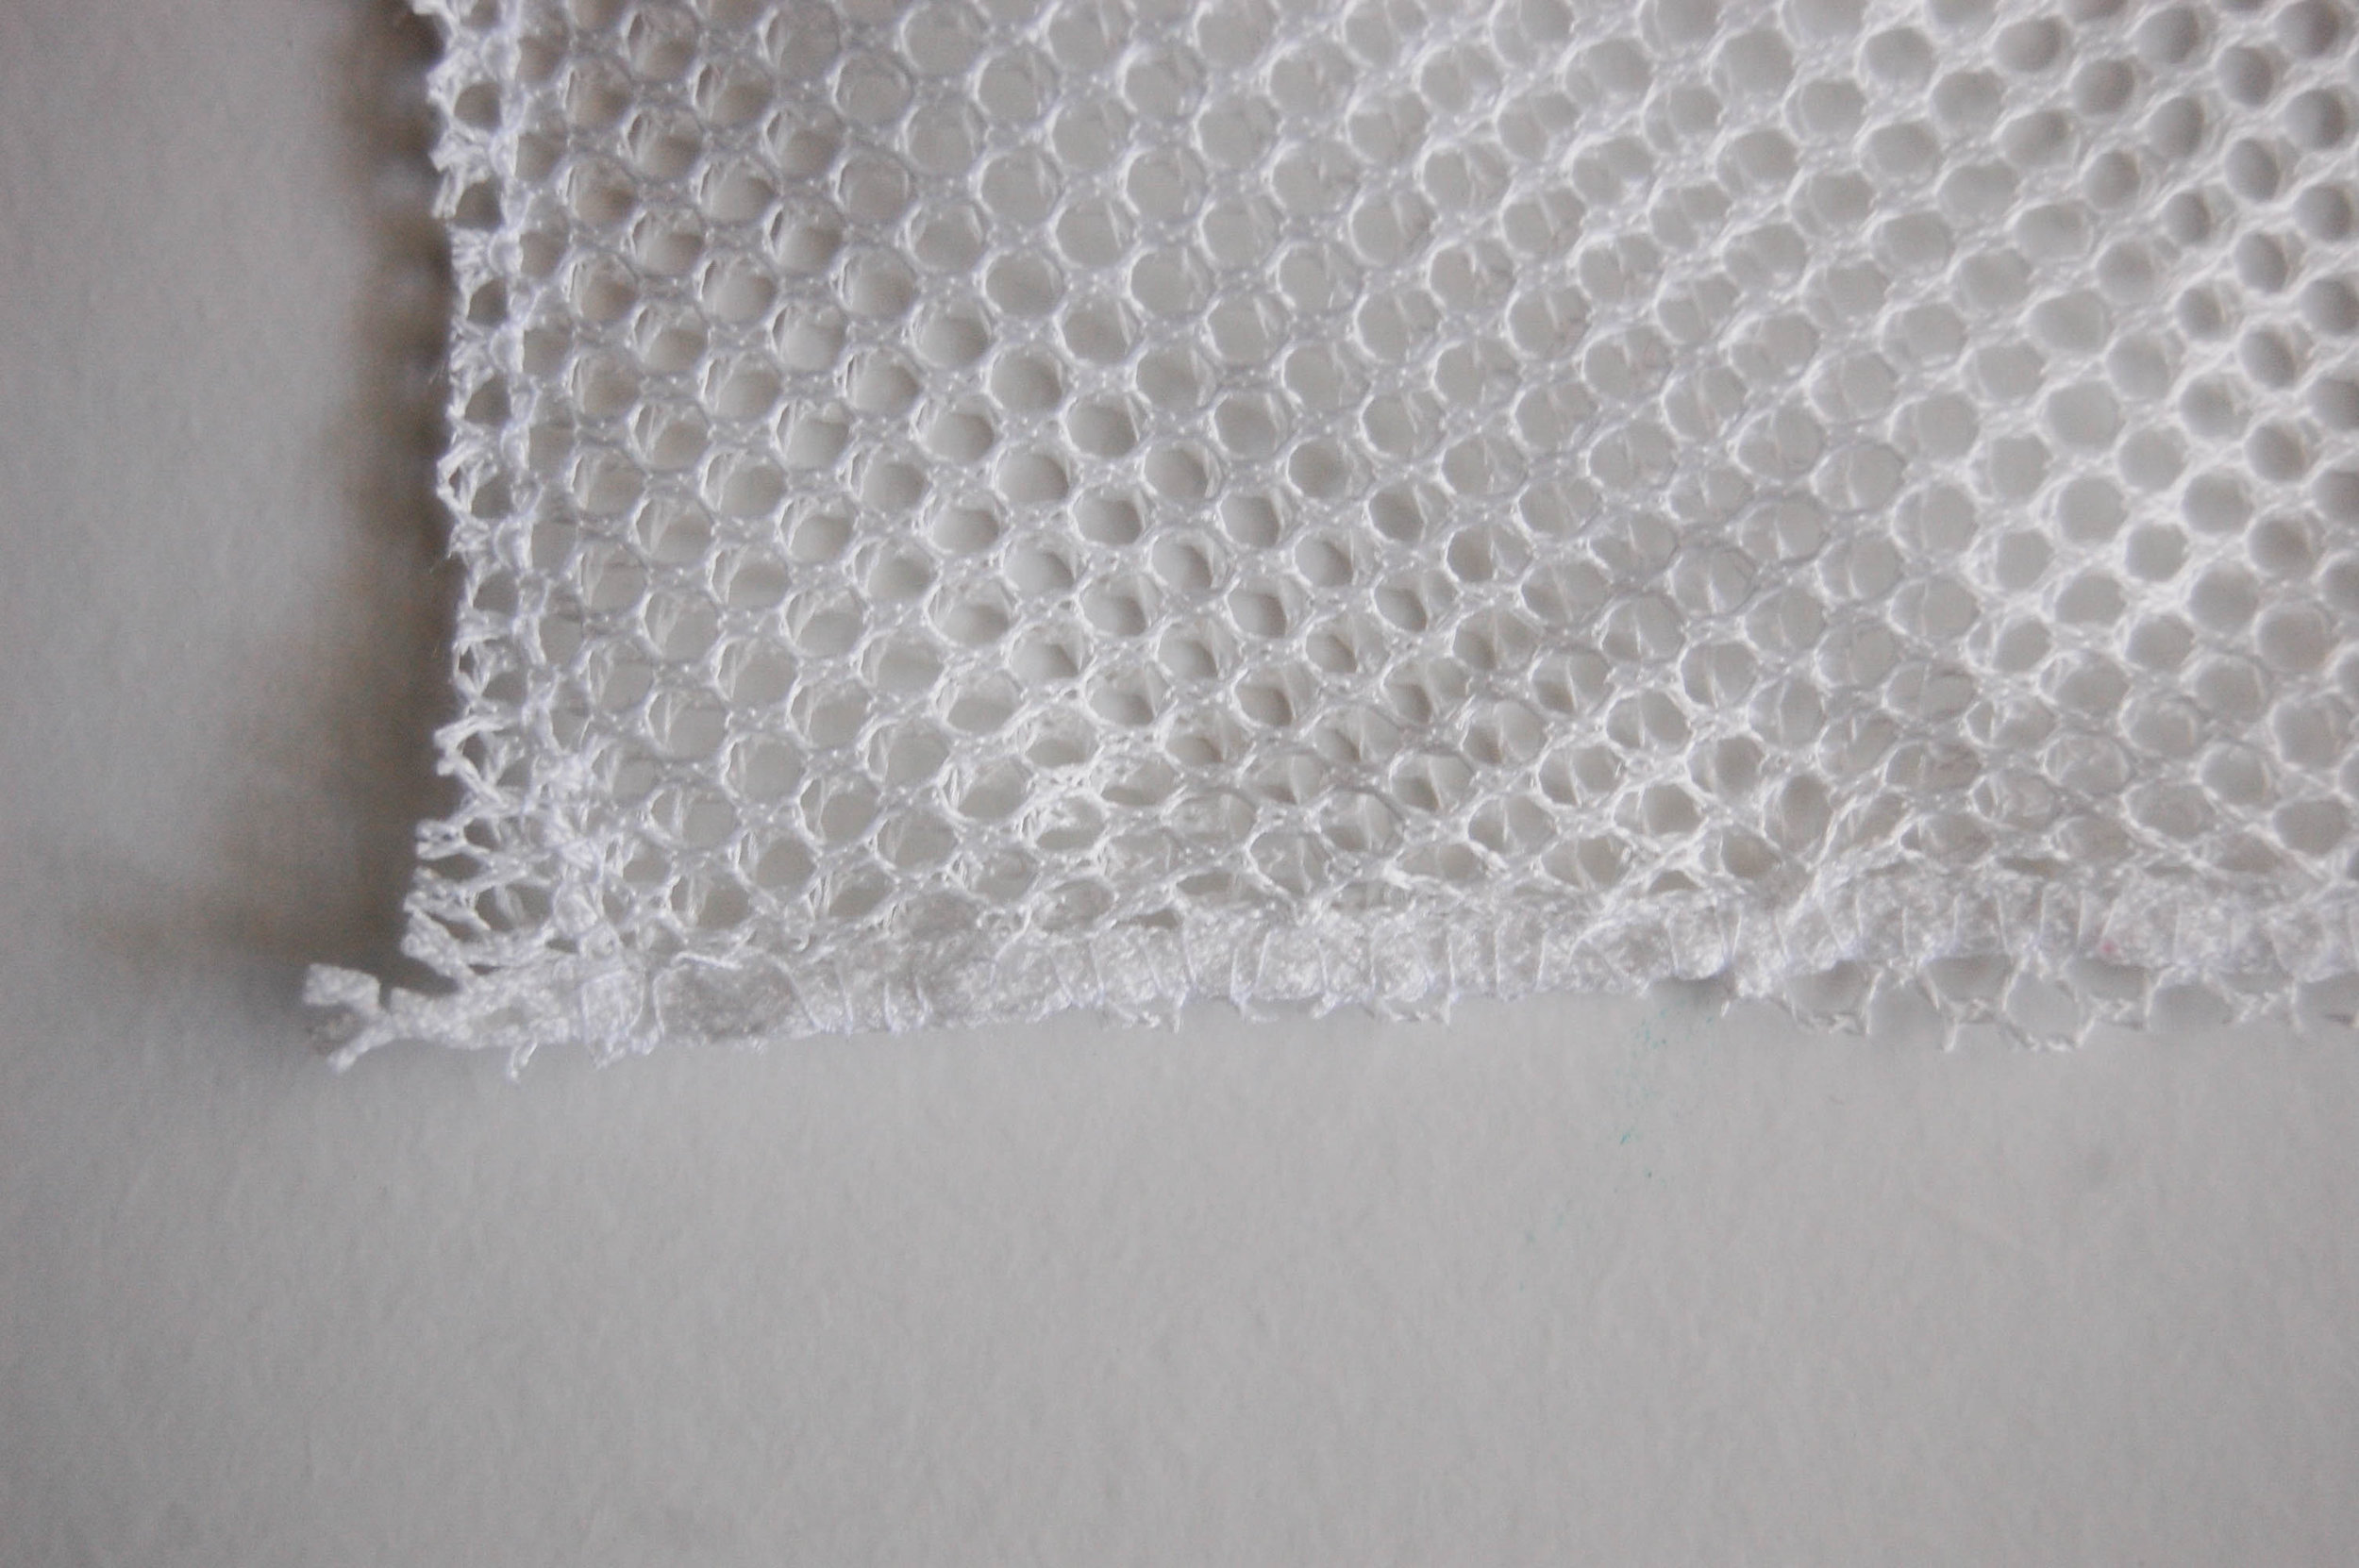
+ Utility Mesh Fabric (not tulle)
+ Matching Thread
+ Cord (I used parachute cord)
+ Scissors
+ Safety Pin
+ Sewing Machine
To begin I thought about the produce I purchase. Different foods need different sized bags. Lettuce will fit better into a bag that's a little bigger and oriented vertically while tomatoes work better in a smaller bag that is oriented horizontally. I would determine the dimension of the bag, double the long side and add half an inch to the length and a quarter inch to the width . A bag with a final size of 8"x10" would need a rectangle that was 9"x10.5".

Fold one of the short ends over half an inch and sew to create the space for the drawstring. I used a zig zag stitch because of the wide mesh. Repeat on the opposite end.
Face the right sides together and sew along each side with a zig zag stitch. If you can overlock, even better. I'm working with 60s era Morse Zig Zag and can't overlock. I widen my zig zag and increase the number of stitches per inch to make sure it's going to survive wear and wash.

Turn the bag inside out. Thread the safety pin through the end of your cord and work it through one of the drawstring openings. Pull the cord through both sides. Tie and in my case, use a lighter to melt the ends together.
This was a 10 minute project, tops. I use these bags all the time. Not only do they keep me from accumulating crazy quantities of plastic bags but they also help keep the produce from getting soggy in the refrigerator. I used paracord that I had on hand but you could coordinate the cord to bag size or produce type.
Do you have an obsession that spills over into your making side?